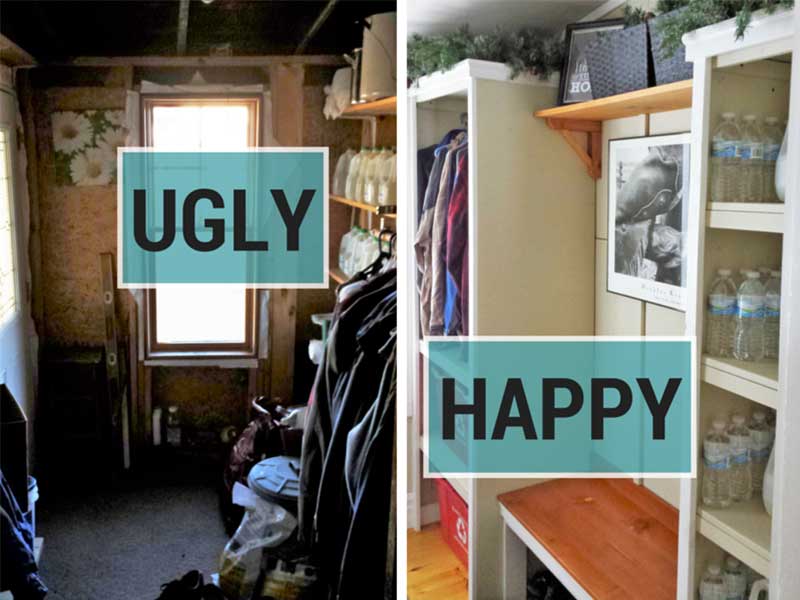
Today’s post is all about doing a DIY farmhouse entryway update, where we take our small mudroom from UGLY to HAPPY. Follow along as the dark, kind of scary mudroom is transformed into a bright and welcoming farmhouse-style entryway.
And really, it’s a lesson about how determination can help us make big changes in our homes even if we don’t have a lot of time or money.
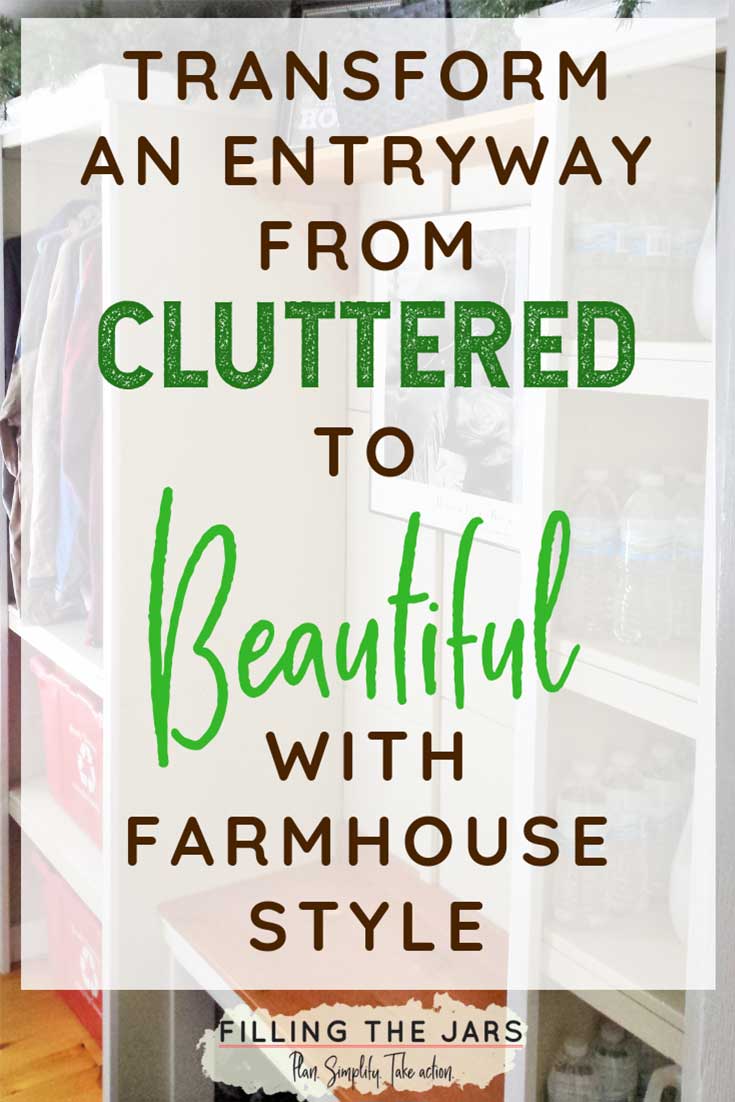
In fact, transforming a room doesn’t always take as much effort as went into this room. You may simply need to declutter or find some great storage ideas for some of the clutter-y stuff in order to create a comfortable, stress-free home.
But if you do need to make some bigger changes and update those dark, cramped spaces, I hope this post will inspire you. The results are absolutely worth the effort!
This post may contain affiliate links. If you choose to purchase through an affiliate link, I may receive a small commission at no additional cost to you. You can see my full disclaimer here.
This is the DIY project that makes me smile multiple times a day. I love it even more than the kitchen reno we did a few years ago.
Wait! What could be better than a new kitchen?
A welcoming entryway! Seriously.
My husband and I did this DIY mudroom home improvement project in 2015. Before that, we had an UGLY ‘breezeway’ that seemed to work just fine for the males of the household.
What We Lived With Before Our DIY Entryway Renovation
If you already have a bright, decorated, happy place to gaze upon when you enter or leave your home, you might not understand. Just imagine living with THIS for about 10 years…
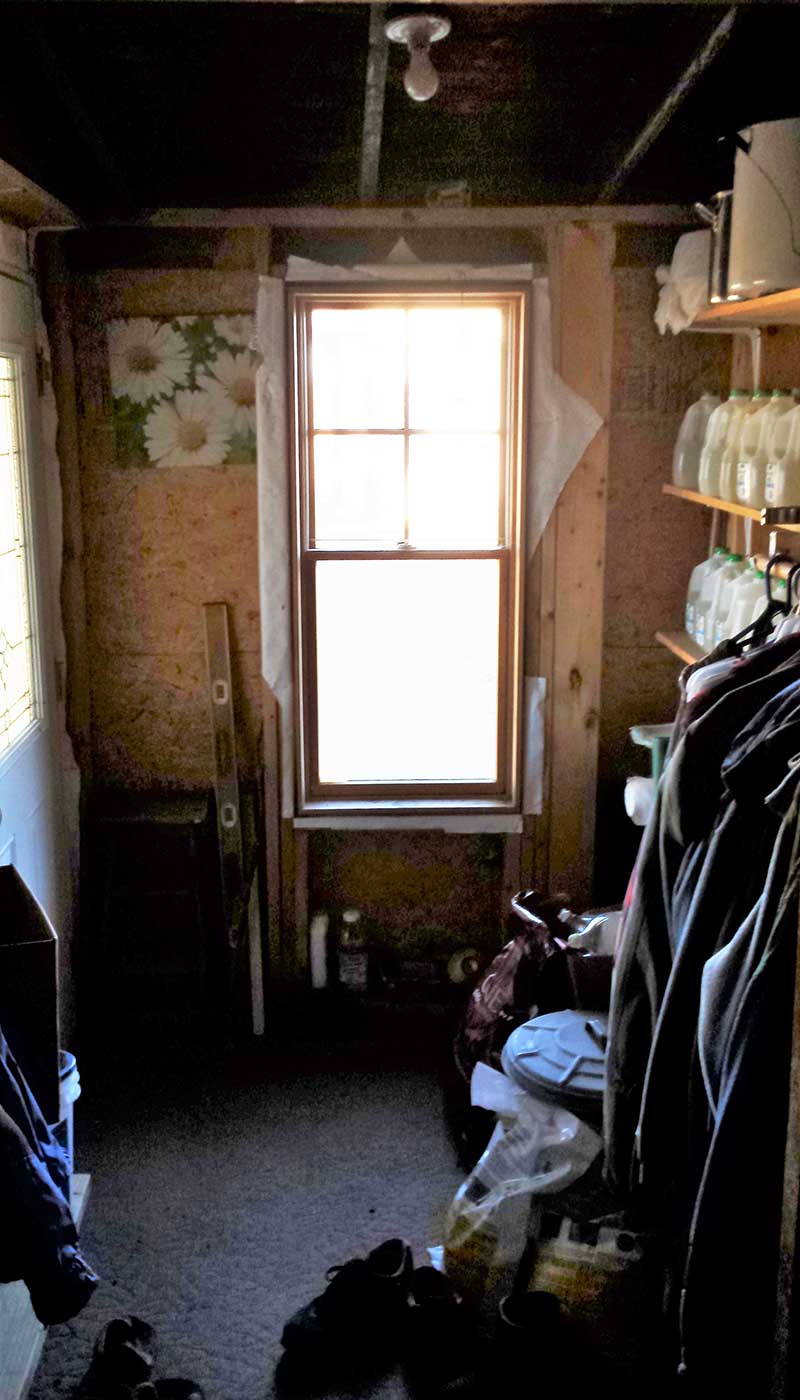
I know the picture quality is terrible and I apologize – I never thought it would end up anywhere other than my phone.
My husband and sons simply could not comprehend how much I hated that area.
Oh, I don’t know, maybe because it was the first and last area of our home that we — and anyone else who visited — saw Every. Single. Day.
It looked like someone’s forgotten backyard storage shed. It was dark and stuffed with junk and dirty and UGLY. The single bare lightbulb did absolutely nothing to help the situation, believe me.
About twice a year, this conversation would happen…
Me: ‘We need to do SOMETHING with the entryway.’
Husband: ‘Why? It’s just a breezeway – a place to get out of the wind and cold before coming into the house.’ To him, it was completely functional.
Meanwhile, I was pinning small mudroom ideas and entryway inspirations and dreaming about the day it would change.
The Step By Step of Our DIY Mudroom Changes
Finally, after something like 10 years of living with the UGLY, I convinced my husband that it had to change.
Our older son was graduating high school and decided he wanted his party at the house. (I still can’t believe I agreed to that.) About six weeks before the party, I saw my chance.
‘Just help me get everything out of there. I’ll do the rest,’ I promised.
1. Clear everything out of the room
The next day everything actually was out of there and we got to work.
Having a completely empty room to work in was very important. We have a very small entryway and needed every square inch to maneuver and work.
2. Complete the preliminary or structural work
(Disclaimer: You should always get permits as required by your local regulations and have a licensed electrician do any necessary work.)
Some electrical work needed to be finished, which took a couple of days.
Then my husband did the insulating – which is probably the nastiest job EVER and I was soooooo glad he volunteered to do it. He also wanted the ceiling to be drywall, so he and my older son put that up – not easy in an 8’x7′ room with a sloped ceiling.
The next weekend was the annual all-boys fishing trip, so I had the place to myself.
I got all of the wood for the walls cut and installed. That was a job! Wood is heavy! The white Rubbermaid step stool in the corner of the picture was absolutely perfect for the job… extremely sturdy and stable.
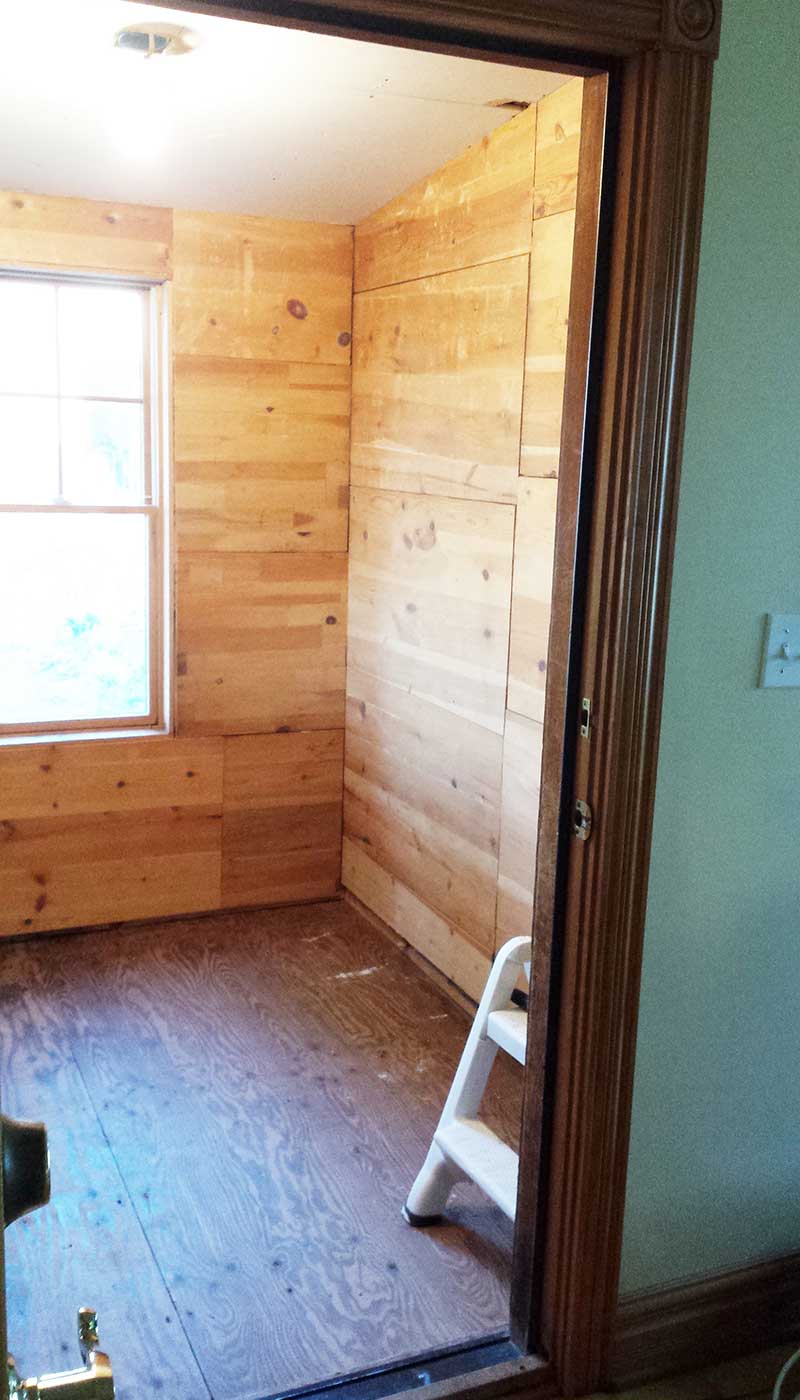
I used some reclaimed 2’x4′ pine shelving boards that my husband had gotten free from a jobsite — he saved it from going into the dumpster. It looks much better in my house. 😉
I was going for a semi-rustic kinda-farmhouse look, so I just nailed the wood up with the pneumatic nailer and didn’t worry about seams or nail holes or anything like that.
3. Build out the finishing touches
After some painting, we put down the flooring. We used some prefinished knotty pine that was leftover from the kitchen project, so that was also free.
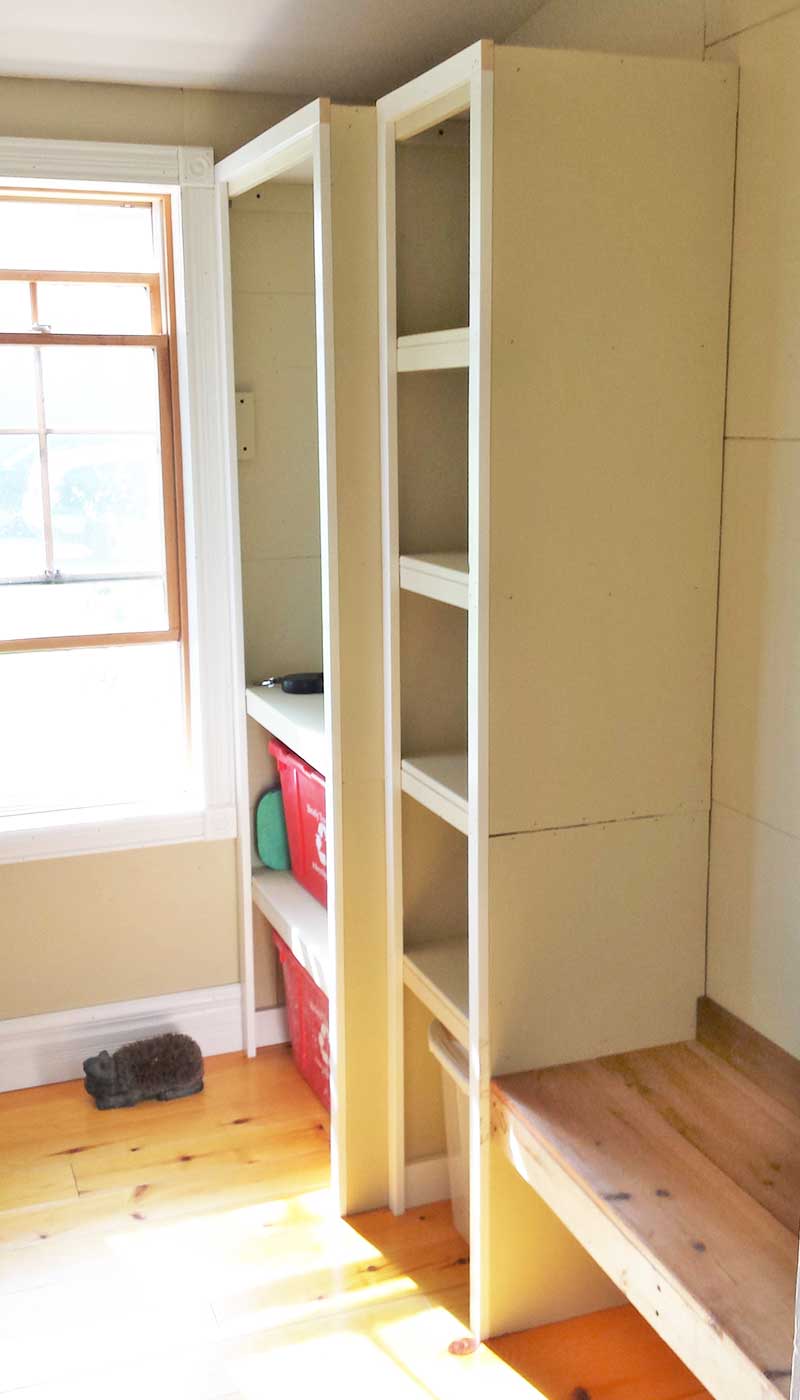
My next project was building the storage areas. I needed places for coats and hats/gloves, two recycling bins, dog food, shoes/boots, and drinking water. (The water at our house tastes icky, so we keep plenty of drinking water on hand.)
After sketching and thinking and figuring, I built the shelving from that same salvaged wood and some scrap lumber. Then I got it all painted and installed, built a bench, put up the baseboard and trim, and called it good for the party.
Whew! It was a Happy Day!
I had to put my cast iron frog boot scraper brush in the photo because it’s so cute — plus he’s really good at holding the front door open! (I can’t find that exact one anymore, but this hedgehog boot brush might even be more adorable.)
Some people might question the use of wood floors in an area where rainwater and melting snow land every day. If I were going to build a brand new home, I would definitely use something like waterproof vinyl plank flooring or ceramic tile… but we made do with what we had. 🙂
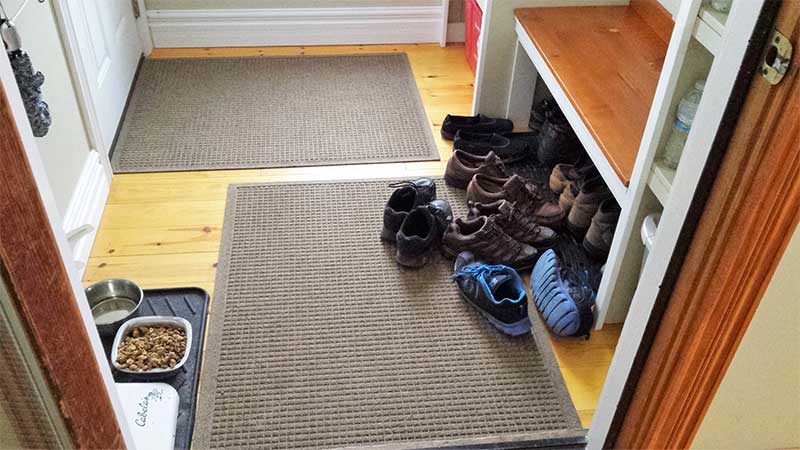
To protect the flooring, I tried a few different rug options from what I already had because I didn’t want to spend any money. But then I ended up buying these WaterHog Indoor/Outdoor Floor Mats in the 3’x4′ size after hearing great reviews from friends.
I absolutely LOVE them!
The WaterHog mats don’t let any water through and have a non-skid rubberized backing. If you have hard floors, you know what a pain it can be keeping a rug in place. I only have to adjust these about 1/4” every week or so.
I purchased two smaller rugs instead of one large rug so they would be easier to pick up for taking outside to wash.
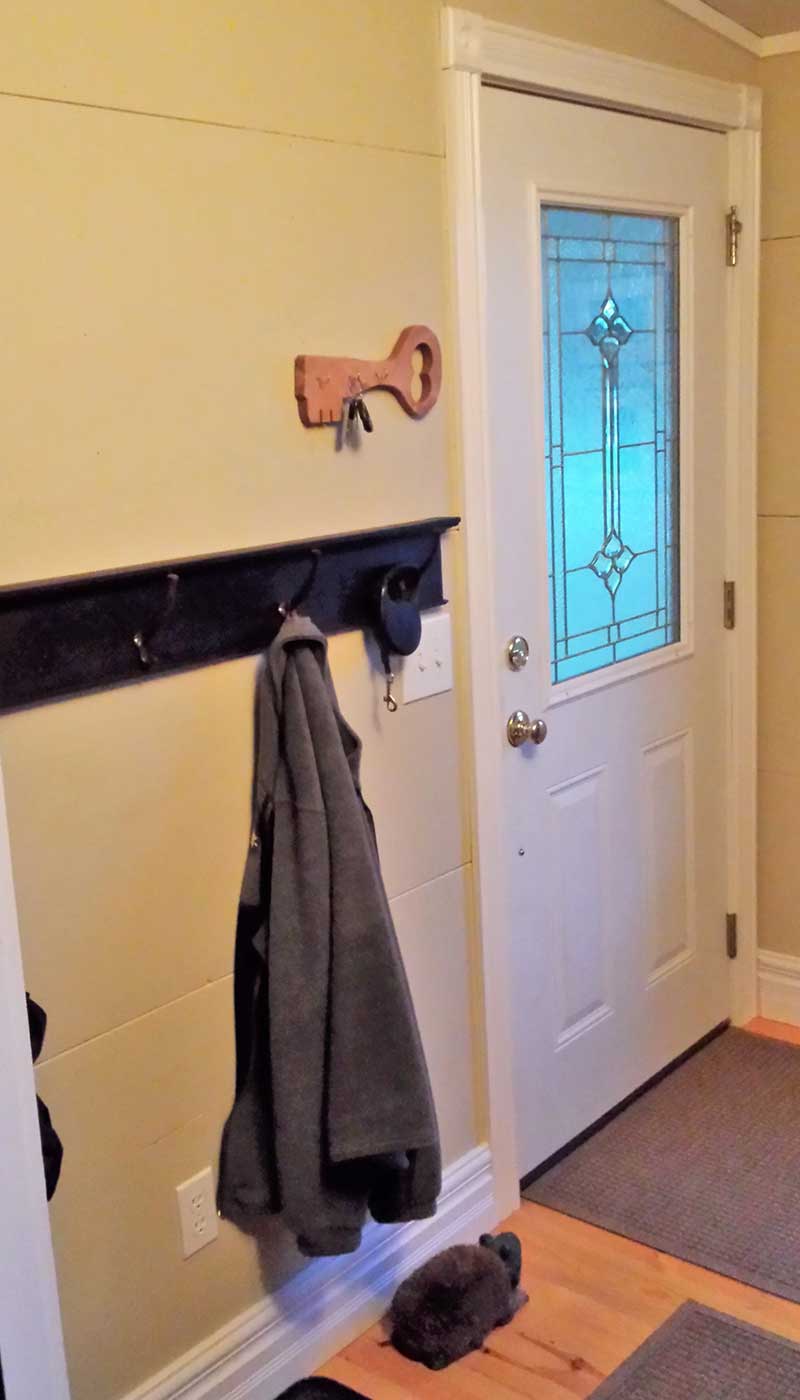
*note: Like the coat rack? I made my own from a piece of antique door trim we reclaimed from another room renovation and some hooks from a coat tree that had been damaged. You can get a similar style handcrafted wall-mounted coat rack on Etsy.
4. Fix and finish the entryway
Even though I still needed to finish the mudroom decor (I had more plans in my head), something was bothering me. It wasn’t QUITE right. So I went back to my Pinterest inspirations and studied them.
FINALLY, after several weeks, I realized the bench was in the wrong place.
It should have been placed in the middle of the two storage areas, not off to the side. Once I figured it out, it only took a day to fix the problem and then a couple more days to do the rest of the finishing touches that had been in my head for months.
Yes, it took me longer than it *should* have to completely finish the entryway project. But it was done enough for my son’s graduation party and we could use it while I finished figuring everything out.
As an overthinker, it’s really important to remember ‘done is better than perfect’ and not let doubts or indecision stop us from beginning a project.
Could it have been MORE perfect? Of course. Still, in the end, it turned out just right for my family!
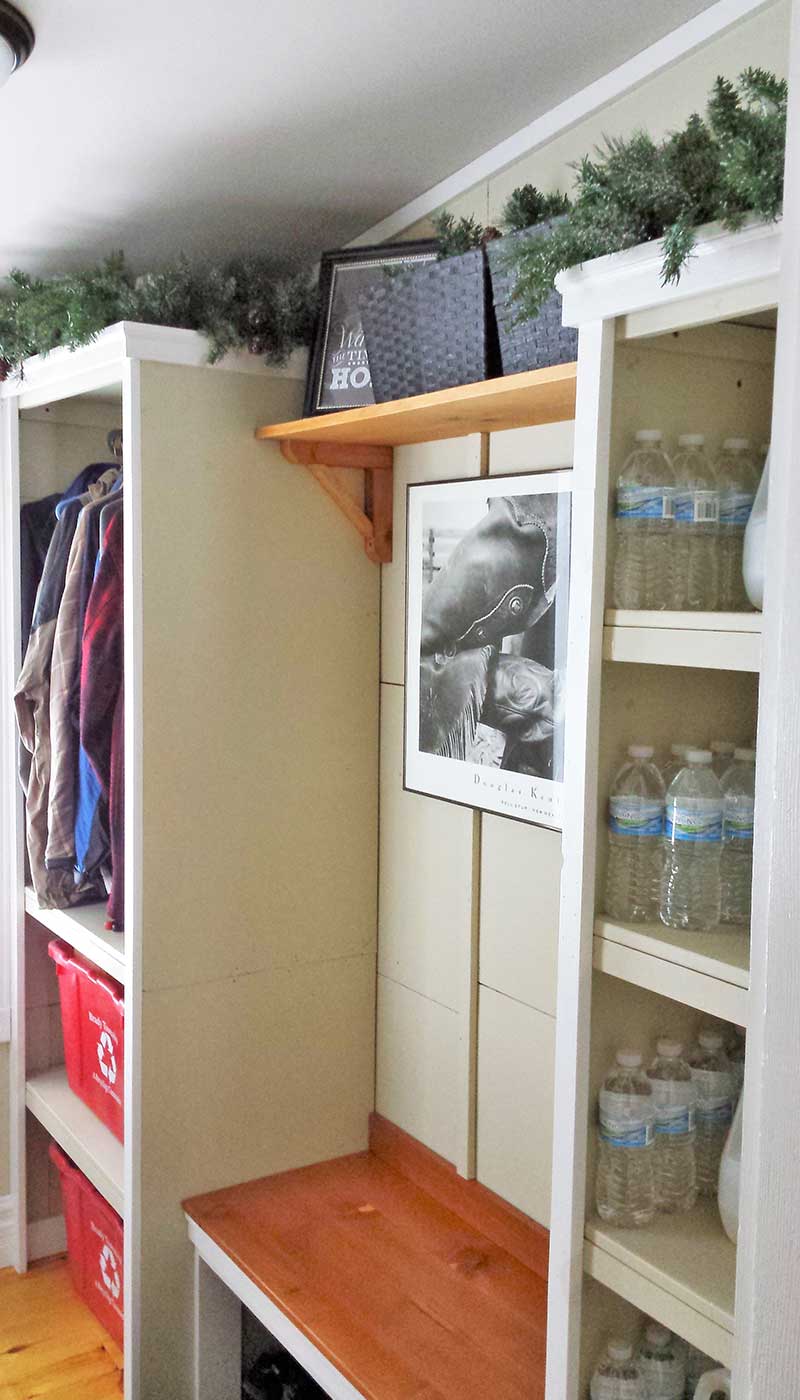
Now our entry looks like THIS with my winter decorations of a framed printable welcome sign and pine garland… so much brighter and more welcoming!
Sometimes I just sit on the bench and sip coffee or stand in the doorway looking around with happiness. My home looks better AND works better now.
I don’t know why I waited so long to do this (I think that every time we do a home improvement project), but I’m glad it’s finally looking the way I knew it could!
Cost Breakdown For DIY Farmhouse Entryway
*note: This project was completed in 2015 and we used leftover materials from other projects wherever possible.
- Insulation $75
- Drywall $20
- Primer $20 (I already had paint from other projects)
- Nails $5
- Closet rod brackets $5
- 1×2 wood trim pieces $20
- Ceiling light $5
- Rugs (WaterHog mats from Amazon) $85
- Black baskets (originally from Lowe’s, but these felt baskets or woven wicker baskets from Amazon have a similar look) $30
- Total spent: $265
More Inspiration For A Comfortable Home:
Five Inexpensive Ways to Love Your Home
How To Reduce Clutter In Your Home: Essential Tips for Beginners
How To Have Your Best-Ever Winter As An Indoorsy Person (Winter Self Care And Preparation)
The Slow Declutter: A Lower-Stress Way to Clear Your Home
Have you changed anything in your home that has made a huge difference in how you feel every day? What was it?
Is there something about your home that bothers you every day? Change it! I promise, you will NOT be sorry!
You’ve got this!
Here’s another photo of the rugs, just because I love them. (My son had friends over on the day I took this photo, lots of extra shoes.)
Did you enjoy this post? Know someone else who might like it? Please take a moment to share on Pinterest, Facebook, or your favorite social media… (Click the sharing buttons at the bottom of the post.) Thank you!
Note: This post was written in January 2016 and updated in April 2025.
It looks great of course! No shame in not getting it done sooner , at all. I think that there are multiple reasons that people don’t declutter and/or make these changes. Some, of course is lack of motivation; some, just don’t know how, or where to start; maybe they can’t do it alone, like a single person, who needs another pair of hands and doesn’t know anyone else. Also, some have a lot of ‘stuff’ they inherited and don’t know how , OR can’t let go of, because they hope to sell items…which leads me to my last point..some of us just don’t have any extra cash to make these changes…even this very nice entryway…for some $300 seems more than they can spare…we were in that boat for the majority of our marriage . Of course there are small changes everyone can make. Hope this helps.
Great transformation! Love the flooring and the white shelves. Thanks for sharing it!
Mel
Happiness Is Homemade Link Party
Home Matters Linky Party
You’re The Star Blog Hop
I just love a project like this. It is not only encouraging but just makes me smile. I am so glad you decided to share it. It will be be one of the featured posts this week. #HomeMattersParty
This is AWESOME! Thank you for showing a REAL LIFE space. What a difference a bit of vision, a tiny bit of money, and a lot of elbow grease can make.
Thanks so much for joining the Grace at Home party at Imparting Grace. I’m featuring you this week!
What happened to the garbage can?
😅 Exactly! It was so bad!
I am so impressed with this transformation and even more so that you did so much of the work yourself! Indeed a happy place 😊